It has been a week since axi0mX publicly released the ultra-powerful checkm8 BooptROM exploit. Here’s how you can run and execute it on your iPhone, iPad, or iPod touch if you haven’t done so already.
Table of Contents
What can be achieved using checkm8?
Currently, not much can be achieved using checkm8 exploit apart from downgrading legacy devices to iOS 10.3.3 with OTA Blobs.
However, if you happen to be a security researcher, there’s a lot you can do with this BootROM exploit, namely –
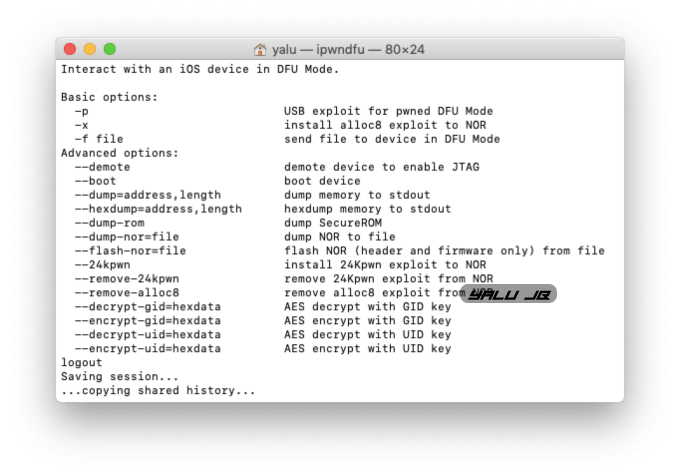
- USB exploit for pwned DFU Mode
- Send a file to device in DFU Mode
- Demote device to enable JTAG
 If you are unclear about the capabilities and compatibility of this exploit, give this article a read. Though all processors beginning with A5 up till A11 Bionic are compatible, only select models are supported in the current iteration.
Remember, run checkm8 only if you have a spare device. It’s just not worth it running it on your daily driver.
We, nor the developers are responsible for any damage caused to your device through the usage of this tutorial.
Requirements
- A supported iPhone, iPad, or iPod touch
- A computer
- macOS or Linux operating system
- Terminal
How to run checkm8 exploit on iPhone, iPad, iPod
Download the exploit
Step 1 Download the exploit from this link.
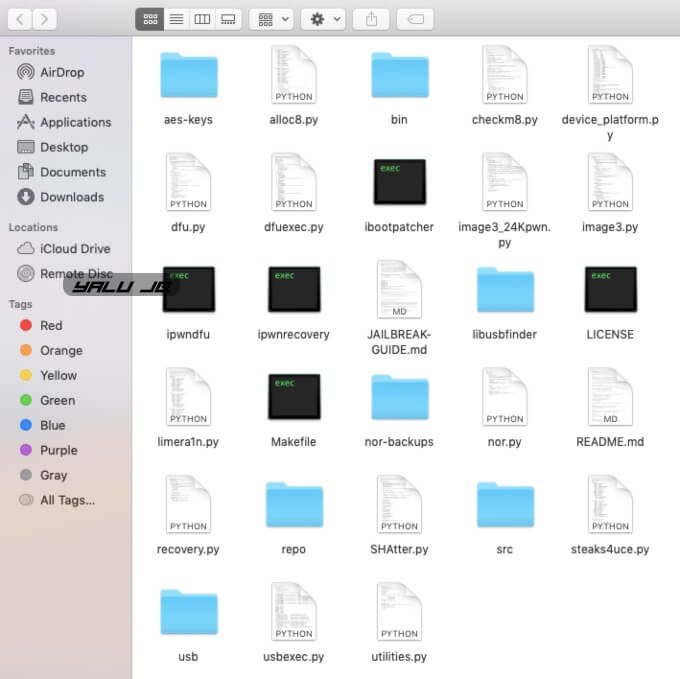
Step 2 Unzip the file and extract its contents to any location, preferably Desktop.
Step 3 Connect your Apple device to your computer with a USB cable. For the sake of this tutorial, I will use my trusty first-generation iPad Mini.
Enter DFU Mode
Step 4 You will now want to put your device in DFU Mode. Follow the instructions given below for your model –
- iPhone SE/6S and below – Press and hold POWER + HOME buttons until the screen gets turned off. Wait for five seconds and release the POWER button while keeping the HOME button pressed for 10 seconds. When the screen goes black, release it.
- For iPhone 7 and above – Press and hold POWER + VOLUME DOWN buttons until the screen gets turned off. Wait for five seconds and release the POWER button while keeping the VOLUME DOWN button pressed for 10 seconds. When the screen goes black, release it.
If your display shows the iTunes, you have entered Recovery Mode, not DFU Mode. Repeat the step given above once again.
Run iPwnDFU
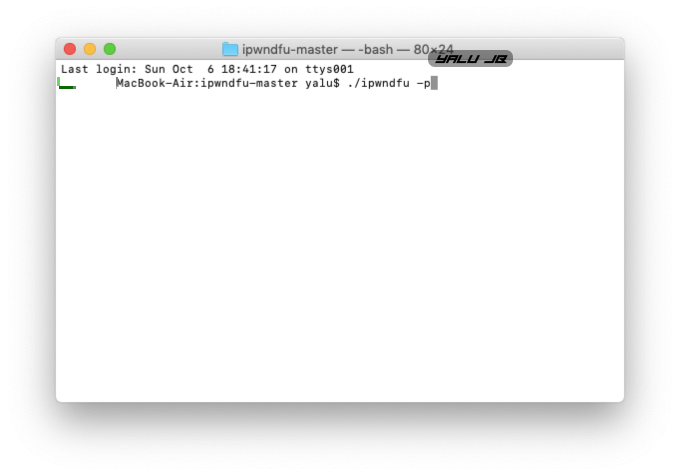
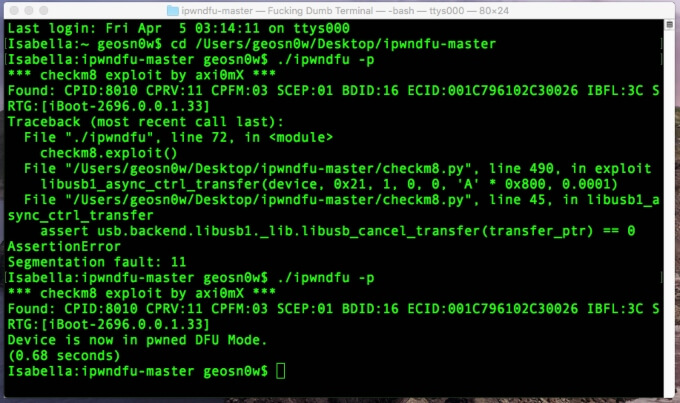
Step 5 Launch Terminal and enter the following command –
cd /[Location]
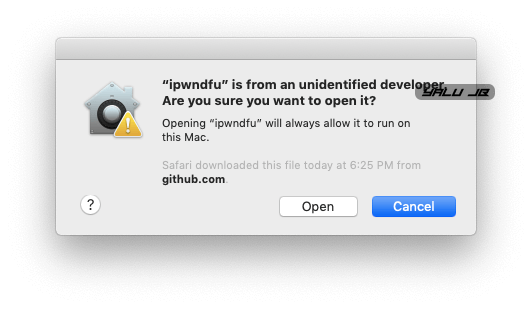
Alternatively, you can open the ipwndfu file directly in the Terminal.
 Step 6 Once you are in the correct folder, key in the iPwnDFU command.
./ipwndfu -p
Step 7 Your device will now be in DFU Mode. Although I did get the exploit to run, the current version of the exploit does not support the specific variant of the processor in my iPad Mini (first generation).
Credits: GeoSn0w
That’s all there’s to it! You are now in pwned DFU Mode and can play around with the exploit however you like.
If you run into an error or are unable to get the exploit working, don’t forget to drop a comment below.


Its work on Iphone X?
Yes, it works on iPhone X.
i have 2 questions
1. is it a permanent jailbreak that after a reboot it won’t need to be jailbroken again?
2. is it possible to install cydia using checkra1n jailbreak then using checkm8 to make it permanent?
I keep getting this error
ERROR: Exploit failed. Device did not enter pwned DFU Mode.
It says error: this device has no langid
Python version: 2.7.10
Can you post a screenshot of the error?
could I use this exploit to bypass the ICloud lock
How to run this exploit in linux
The tutorial and the steps given above work for Linux too.
and then what is done? I already used the command and if my computer is in dfu and then what do I have to do?
That’s all there’s to it. You can’t do anything with Pwned DFU mode just yet.
And the End is???? You did not talk about Firmware do we need a Ipsw to downgrade or not?
yes, you do require a IPSW firmware file to downgrade.
Why can I see no tutorials online on how to downgrade to an lower ipsw version????
So It worked for me but I don’t know find any tut about it like everybody Is saying that u can downgrade with this exploit but where the hell are the tuts to do this.
just curious, regarding a future JB do you suggest 13.1 or 13.1.1.. Not sure if I should stay on 13.1 (as I heard theirs battery issues with the OS), or upgrade while still being signed to 13.1.1.. This is for a iPhone 6s
You can safely upgrade to iOS 13.1.1.
When comes an Jailbreak with Cydia for this exploit?
Luca Todesco is working on checkra1n, which will be released once the bugs are ironed out. No release date has been given as of yet, though.
Can I install Cydia?
No, that’s not possible without a full jailbreak.
Can this work with a Virtual Machine ? I tried with a Mac OS X Virtual Machine but didn’t succeeded, it won’t connect the DFU device, is there a way to do the exploit with a Virtual Machine? I might test later with a Linux Virtual Machine also, but i’m pretty sure it won’t connect either. Thanks
It could work with a macOS virtual machine. Try changing USB 3.0 to USB 2.0 in macOS VM and retry. Good luck!
But does it also work for iPhone 11 pro Max?
No, it doesn’t.
No