Tired of reconnecting to VPN each time you unlock your device? Here’s a quick setup guide that will help you auto-connect to your VPN using the classic Activator jailbreak tweak.
Table of Contents
Why iOS automatically disconnects VPN in the sleep state
By design, Apple products put the WiFi chip to sleep to save battery. Each time your iPhone goes into the locked or sleep state, the internet connection remains intact but you don’t get the complete connection.
While this allows your device to receive push notifications, VPN (Virtual Private Network) apps simply stop working in this state since they require a “full” connection to protect the traffic.
What’s more, the user has to go to Settings to re-enable the connection after each unlock or whenever your device goes to sleep.

Thankfully, if you are a jailbreaker, you don’t have to go all the way to Settings just to enable your VPN each time you unlock your iPhone like the stock peasants.
Using the legendary Activator Cydia tweak, you can re-enable it automatically without pressing a single button.
Requirements
- A jailbroken iPhone, iPad, or iPod touch
- iOS 12 or below
- Activator
How to automatically connect to VPN with Activator
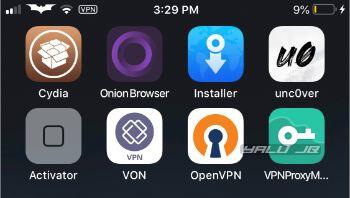
Install a VPN app (optional)
Step 1 Install a VPN application from the App Store. If you already have a VPN up and running, there’s really no need to install a new one and you should skip this section and move to the next one.
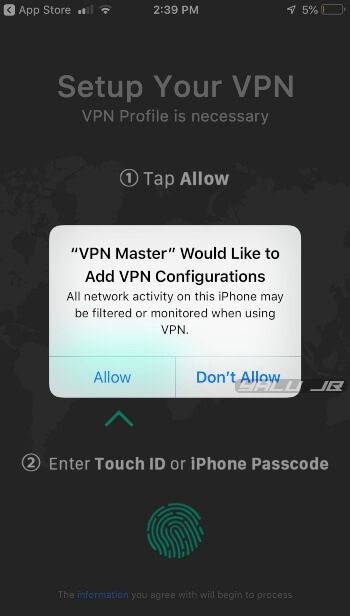
Step 2 Once you install it, open it from your home screen. Add its VPN profile to the Settings.
Set up Activator trigger
Step 3 Open Activator. If you don’t have it installed on your iPhone or iPad, you can get it from Ryan Petrich’s repository (http://rpetri.ch/reposetup/).
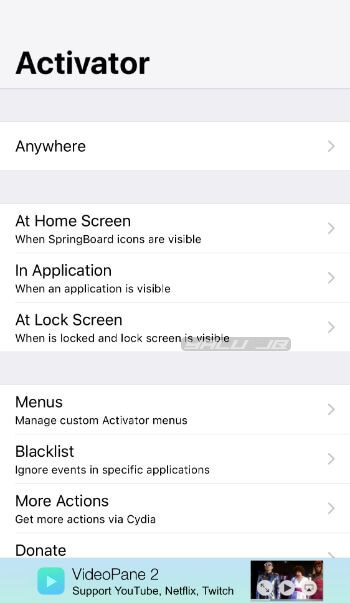
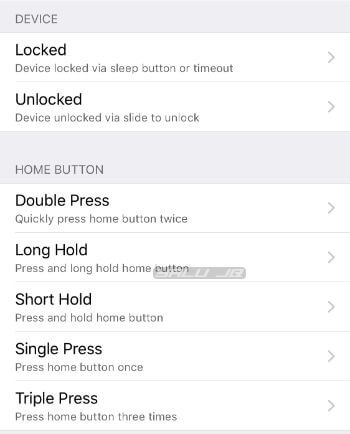
Step 4 Select Anywhere button located at the top of the screen.
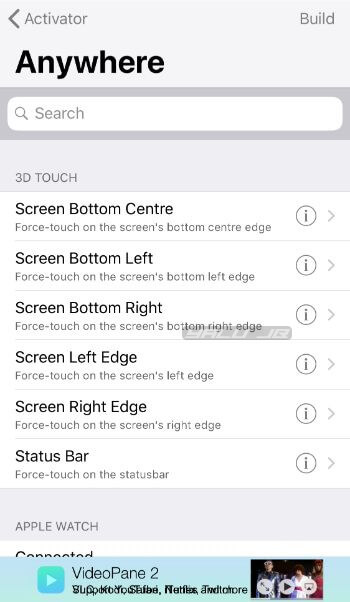
Step 5 Scroll all the way down to “Unlocked (Device unlocked via a slide to lock)”. You can also select this option by typing “unlocked” in the search field present at the top. This action will allow us to trigger autoconnection later.
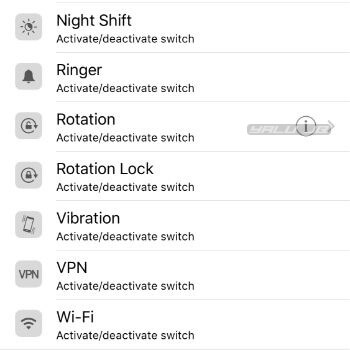
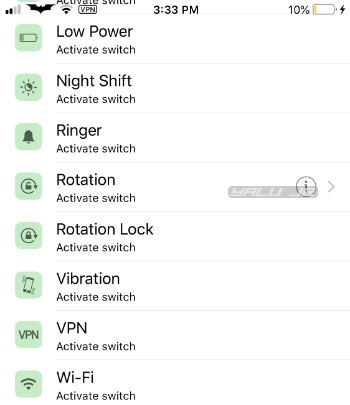
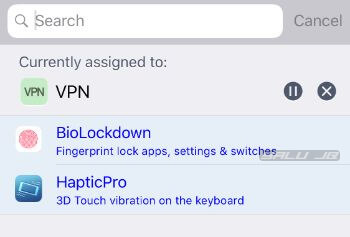
Step 6 Type “VPN” in the search field.
Step 7 Select “VPN (Activate switch)” from the results. Again, you can find this switch by scrolling down and looking under the “Switches (Activate)” category.
Unlock your device
Step 8 Close Activator from the app switcher and lock your iPhone or let it go into the sleep state.
Step 9 Unlock it again to test whether your VPN connects automatically.
Conclusion
If all goes well, your Apple device should automatically connect to the VPN server.
However, in the event that it doesn’t work the way it should, you can set up a new Activator trigger for your VPN app. This will allow you to connect manually with a single tap.
Of course, this solution is not fully automated but it’s still better than connecting manually whenever your device goes to sleep.
Alternatively, you can trigger an autoconnection to kick in whenever your device connects to an untrusted WiFi network.
The possibilities are really endless with tons of actions and triggers that Activator has to offer.
Did this tutorial work for you? Leave your comments below.
![unc0ver jailbreak updated for iOS 12.0-12.5.1 [DOWNLOAD]](https://cdn.yalujailbreak.net/wp-content/uploads/2018/10/unc0ver-jailbreak-2-211x150.jpg "unc0ver jailbreak updated for iOS 12.0-12.5.1 [DOWNLOAD]")
![How to Fix OSRestoreX Errors on iOS 10 Jailbreak [FAQ]](https://cdn.yalujailbreak.net/wp-content/uploads/2017/03/image-2017-03-25-6-211x150.jpg "How to Fix OSRestoreX Errors on iOS 10 Jailbreak [FAQ]")

wow thank u for ur info