iOS 12 comes with an innovative new “Do Not Disturb” feature called Bedtime mode. Here’s how you can enable this mode on your iPhone and iPad.
Table of Contents
How the iOS 12 Do Not Disturb Mode works
For those who don’t know, iOS 11 already comes with a scheduled Do Not Disturb mode. The iOS 12 DND section, on the other hand, has similar options except for the Bedtime Mode.
Here’s a glimpse of the DND settings present in iOS 11.

“Bedtime Mode” is the latest addition to the Do Not Disturb Mode in iOS 12 firmware.
It is a watered-down version of the “Bedside Mode” found in BlackBerry smartphones running BlackBerry OS 10.
What this mode does is it snoozes all your notifications, alerts, etc until you wake up. In the scheduled “Quiet Hours” period, all your notifications are transferred to History and can be accessed later.
Moreover, your screen stays dim until you wake up, that is, your screen goes back to normal when your device completes one “scheduled time” cycle.
Enabling Scheduled Bedtime Do Not Disturb Mode
1. Toggle on DND mode
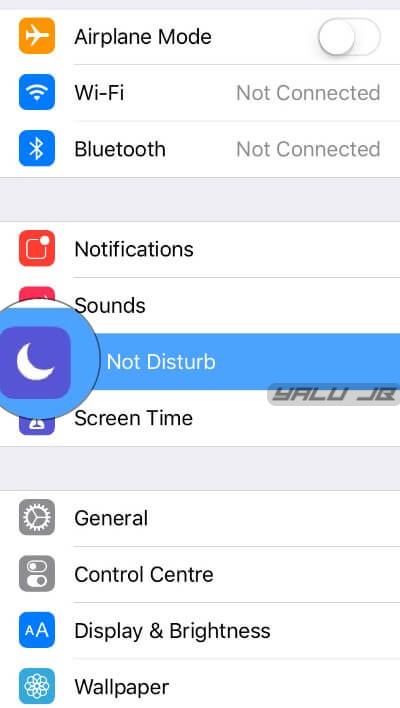
Step 1 Open the stock Settings app and go to the Do Not Disturb section.
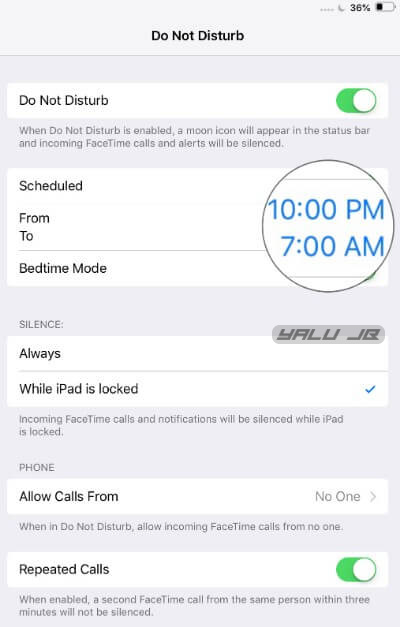
Step 2 Toggle on Do Not Disturb.
2. Set Quiet Hours
Step 3 Toggle on Scheduled to ensure DND mode stays on throughout your sleep hours.
Step 4 Set “Quiet Hours” according to your sleep time. For example, you would want to set it from 9:30 AM to 7:00 AM if you hit the bed at 9:30 AM and wake up at 7:00 AM.
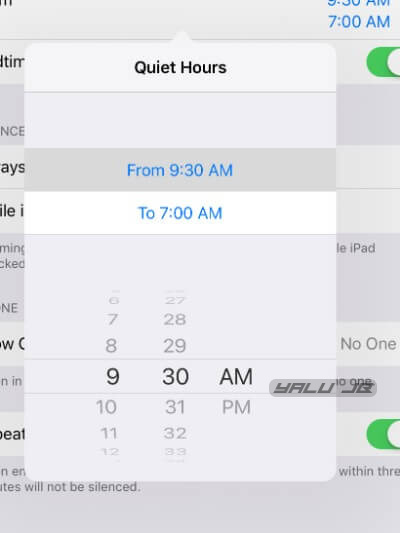
Step 5 Once you set the “Quiet Hours”, the Bedtime Mode option will appear on your screen. Toggle on Bedtime Mode.
3. Set up call settings
Step 6 Set “SILENCE” to While iPad is locked or While iPhone is locked to ensure you can still receive FaceTime calls and notifications when you are using your iPhone or iPad.
For a more strict DND mode, select Always to keep all calls and notifications suppressed at all times.
Step 7 In the “PHONE” section, you can whitelist any of your contacts to ensure they can call you even while the Do Not Disturb Mode is enabled on your device.
Step 8 Enable Repeated Calls to allow a contact to FaceTime you a second time provided their second call is within three minutes of the first one.
You are all set now. Your device will now suppress all notifications on your lock screen until you unlock it.
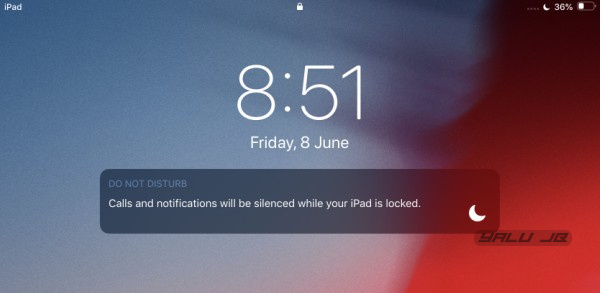
Once the “scheduled Bedtime” starts, Bedtime mode will kick in. Your screen will get dim and all calls and notifications will be silenced and sent to History.
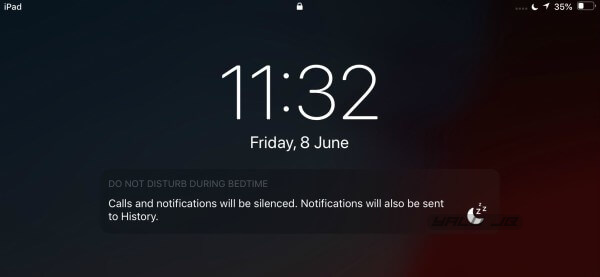
Once the scheduled period ends, you will be able to access all your notifications and alerts like you normally do.
Using 3D Touch to schedule Do Not Disturb
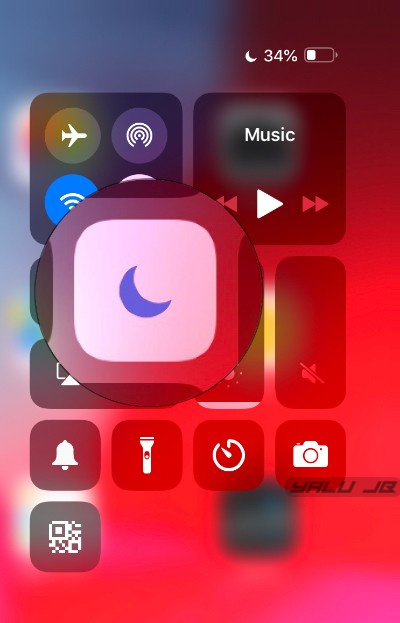
This feature is not limited just to the Settings section, you can also access it from the Control Center itself.
Step 1 Invoke Control Center.
Step 2 3D Touch or long press the Do Not Disturb icon.
Step 3 Select any of the following options –
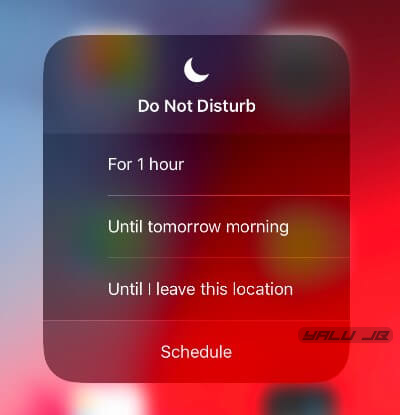
For 1 Hour
This is self-explanatory and will suppress all notifications, alerts, calls, etc for an hour.
Until tomorrow morning
This option will ensure DND mode stays on until the next morning.
Until I leave this location
This option is based on geofencing and takes into account your current location.
Location-based DND mode is very useful when you find yourself in the midst of an important event such as an office meeting.
Once you leave your current location, your device will automatically turn off Do Not Disturb mode.
Just make sure location tracking is enabled on your Apple device before you select it.
Schedule
This option will take you back to the “Quiet Hours” option in the Settings app. You can then set it up using the steps given above.
Wrapping it up
Bedtime mode is immensely useful especially for those who like to stay up at night.
If you are the kind of user who likes to play around with his/her smartphone, read ebooks, and listen to podcasts or music, this feature is for you.
For more iOS 12 tutorials, like and follow us on Facebook and Twitter.


