Apple has been going absolutely ballistic lately and has already revoked a lot of developer certificates. Here’s a quick fix for that.
Table of Contents
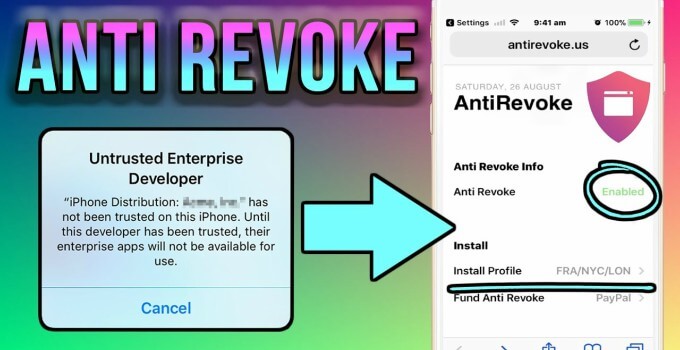
What is AntiRevoke?
A lot of applications that you install from third-party installers often stop working after a while. The reason behind this is that Apple revokes the developer certificate of the Installer you used to download that specific app.
This is where AntiRevoke comes in.
AntiRevoke is a VPN that blocks your device from accessing Apple’s servers. It is the brainchild of eminent developer Joseph Shenton, who is very popular in the no-jailbreak community.
What this does is, it allows you to enjoy the best of both worlds. You can now keep using the apps from your favorite app installer even if their developer certificate is revoked.
How is AntiRevoke useful?
It’s a godsend for all those of you who are stuck on unjailbroken firmware versions. As you already know, there’s another method for stopping App revocations by Apple.
While that method works fine, the actual installation process can be a hassle. Moreover, it is semi-untethered. This means once you install it on your device, you must ensure that your adblocker is always running in the background.
AntiRevoke VPN bypasses all of that by installing a VPN profile that remains active and works even after rebooting.
It also supports all App Installers such as TutuApp, Appvalley, TweakBox, Cyrus Installer, etc.
Is it safe to use?
Yes, it is safe to use because it just blocks Apple’s server (oscp.apple.com) using its DNS servers.
Earlier, Joseph was using AppDB’s DNS servers to provide this service. AppDB’s owner claims that this website doesn’t work and is a “scam”, for some unknown reason.
He has now stopped using them and set up his own servers. As of yet, they have 3 servers up and running and a fourth server will be coming soon.
Secondly, this method can also be used to access your device’s UDID number. However, AntiRevoke is limited only to blocking oscp.apple.com as it doesn’t have a “device enrollment certificate”.
This indicates they can only log minimal details so you don’t have much to worry about, to be very honest.
All in all, it’s a great way to automatically block Apple’s revocations.
Compatibility
This service supports all recent firmware versions. No matter what device you own, it will run on it.
Here’s the complete list of all compatible firmware versions.
iOS 9
- 9.0.1
- 9.0.2
- 9.1
- 9.2
- 9.2.1
- 9.3
- 9.3.1
- 9.3.2
- 9.3.3
- 9.3.4
- 9.3.5
iOS 10
- 10.0.2
- 10.0.3
- 10.1
- 10.1.1
- 10.2
- 10.2.1
- 10.3
- 10.3.1
- 10.3.2
- 10.3.3
iOS 11
- All beta versions
Here’s how you can install AntiRevoke 2.0 on your iOS device in seconds.
How to Download and Install AntiRevoke without Jailbreak
Step 1 Open Safari web browser.
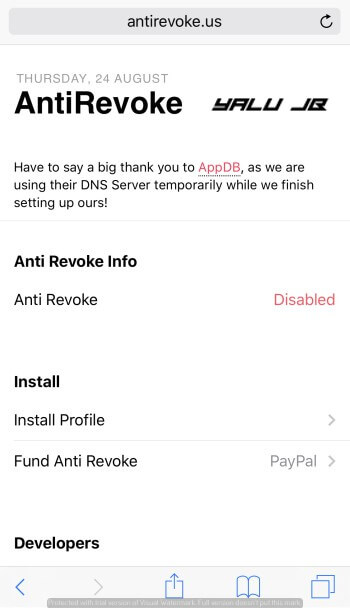
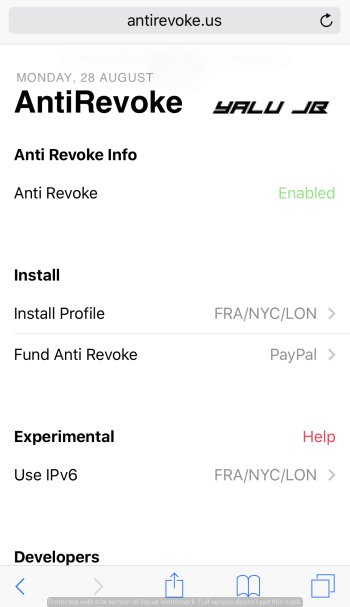
Step 2 Go to this URL – http://antirevoke.us
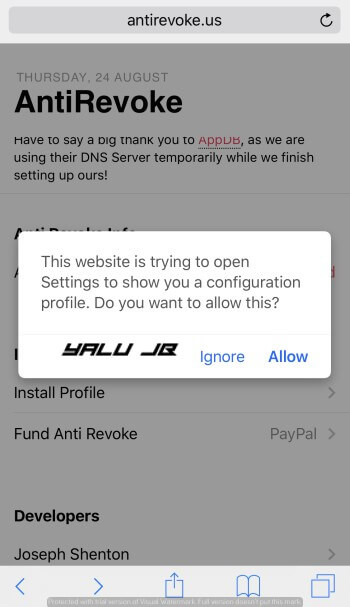
Step 3 Select the Install Profile option. Once your device prompts you to install this configuration profile, tap Allow.
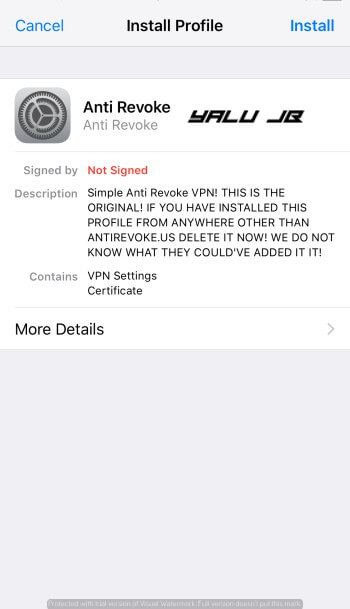
Step 4 You will now get to the Install Profile screen. To start the installation process, tap the Install button present in the top right corner.
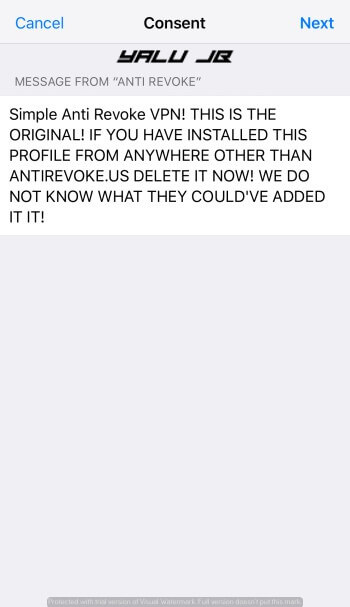
Step 5 At the Consent screen, tap Next.
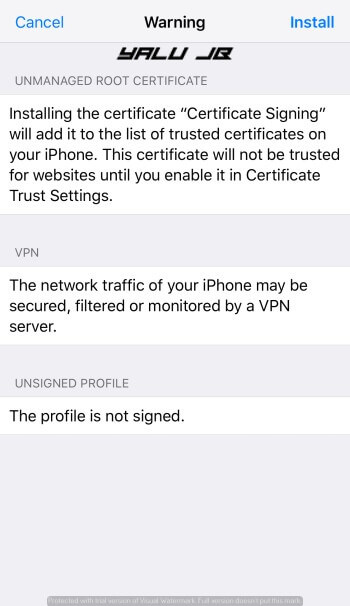
Step 6 Tap Install again on the Warning screen.
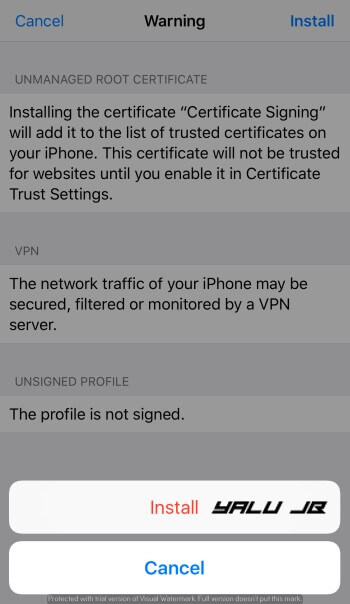
Step 7 Tap Install once again.
Step 8 The profile will now be installed successfully. Tap Done and go back to Safari.
Step 9 Open antirevoke.us again and check the Info field that displays your current status. If it’s Enabled, you are good to go and everything is working as it should be.
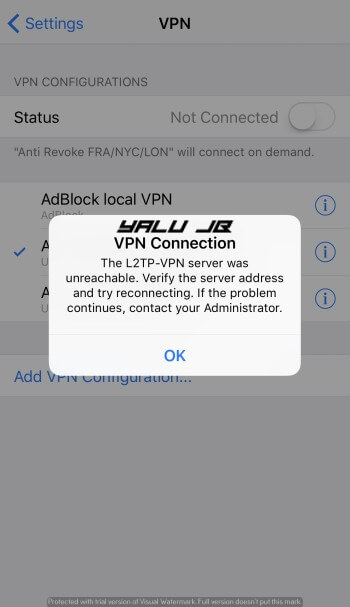
Conversely, if it’s Disabled, you will get the following error when trying to enable it manually through Settings.
Follow the tutorial given below to properly activate this VPN profile.
How to Fix AntiRevoke not working or activating
For some unknown reason, the VPN profile may not work as expected. Here’s a quick fix to solve this issue.
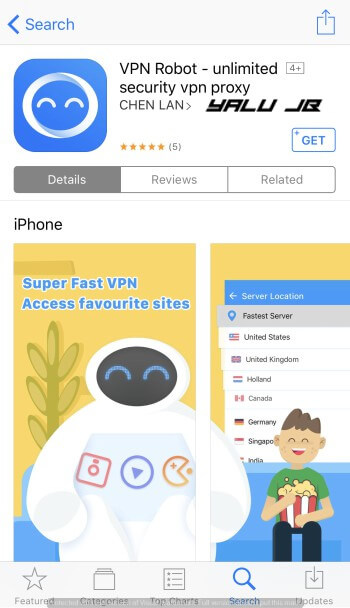
Step 1 Go to the official App Store.
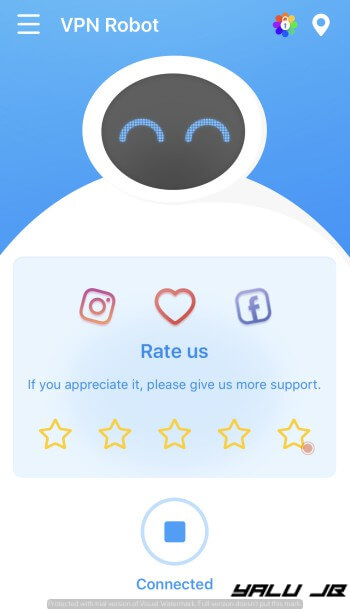
Step 2 Search for this app – VPN Robot.
Step 3 Install and open it.
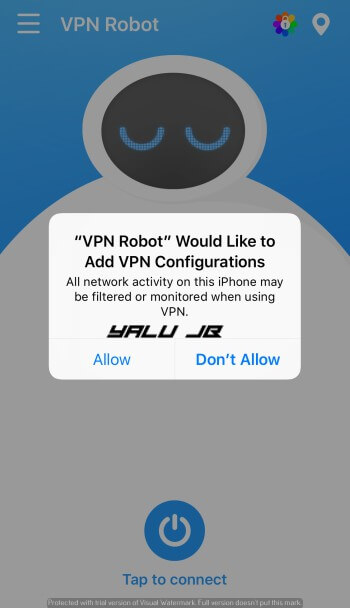
Step 4 Install its configuration profile and press Allow when it prompts you to do so.
Step 5 Once you install it, it connects automatically. Now, open the app and ensure it is “Connected” just to be sure.
Step 6 Now go back to antirevoke.us and check its status. It should now display “Enabled”.
That’s all there’s to it! Just make sure you don’t delete this profile from your device and keep it running always. The only time it may stop working is when their DNS servers go down.
If you still can’t get it working, just drop a comment below.
For more tutorials and guides, follow us on Facebook and Twitter.



Why doesn’t someone make a dns where all the Enterprise certs stay verified and they are verified and it says ALL certs are verified
vpn robot app not available in appstore where i download this app
You can use any other VPN app.
vpn robot isn’t in use any more and I can’t fix this problem with anti revoke. Is there an alternative to this? How can I block apple’s servers manualy?
WHY does it take me to a log in page when I go on AntiRevoke.us
Their website is no longer functional.
Hello Luca. There is some alternative that don’t steal our data?
Thanks
Yes, you can manually block Apple’s servers using a VPN app.
Wheather AntiRevoke is safe???
Yes, it’s safe.
The site says it is down until after dark or whatever it’s called gets released. Is there something else I can use to keep my third party apps from being deleted?
Hello, Jim. Apple closed the loophole they were using. You can now use https://yalujailbreak.net/nesstool/ to prevent app revokes. Remember, it steals your data (https://yalujailbreak.net/tutuapp-spyware/).
I’m new to a lot of this.. What steals my data?
What it does is, it sends your location and other device data to their server. They then sell it to another company. You can read my full analysis in the post I linked to in my comment above.
Yeah I’ve heard some shady things about nesstool. Should I just go without AntiRevoke until they come out with the new version?
Yes, you can also try my “app revoke” tutorial above.
I’m also pretty fuzzy on what vpn is. I went from using showbox and Spotify++ on my android to “trying” to keep them on my iPhone once I switched. Tried a few different anti revoke versions but I don’t know which ones are safe and which ones are not.
No problem, I will explain it all.
1. VPN “routes” all your traffic through their own servers thereby circumventing any and all checks that are put in place by Apple or any other company.
2. You can do that via Cydia Impactor as well but it is limited to 3 apps only.
3. Only Nesstool works right now but it also steals your data without your knowledge. You can also give this a try – https://yalujailbreak.net/stop-app-revokes/
Hello, kwtd. The site has been updated since then so you can use it.
Sir need VPn permanent ON or for just installing profile of antirevok
Please reply me
Hello, Rizwan. Just install this profile.